Re-Grip it & Rip it

A Ruff Guide to Better Grips 🐾

Hey there! It’s me—your loyal caddie with a tail. Ever tried chasing a squirrel with soggy paws? That’s what your golf game looks like with worn-out grips. In this paw-some guide, I’ll show you how to re-grip your clubs like a pro—no tail required. We’re talkin’ tape, twist, squirt (grip solvent, not slobber), and voilà—grip magic!

Trust me, your drives will go from dog-leg left disasters to fairway-fetching missiles. So grab a treat (for you and me), and let’s sink our teeth into this re-gripping adventure!

Remove the Old Grip

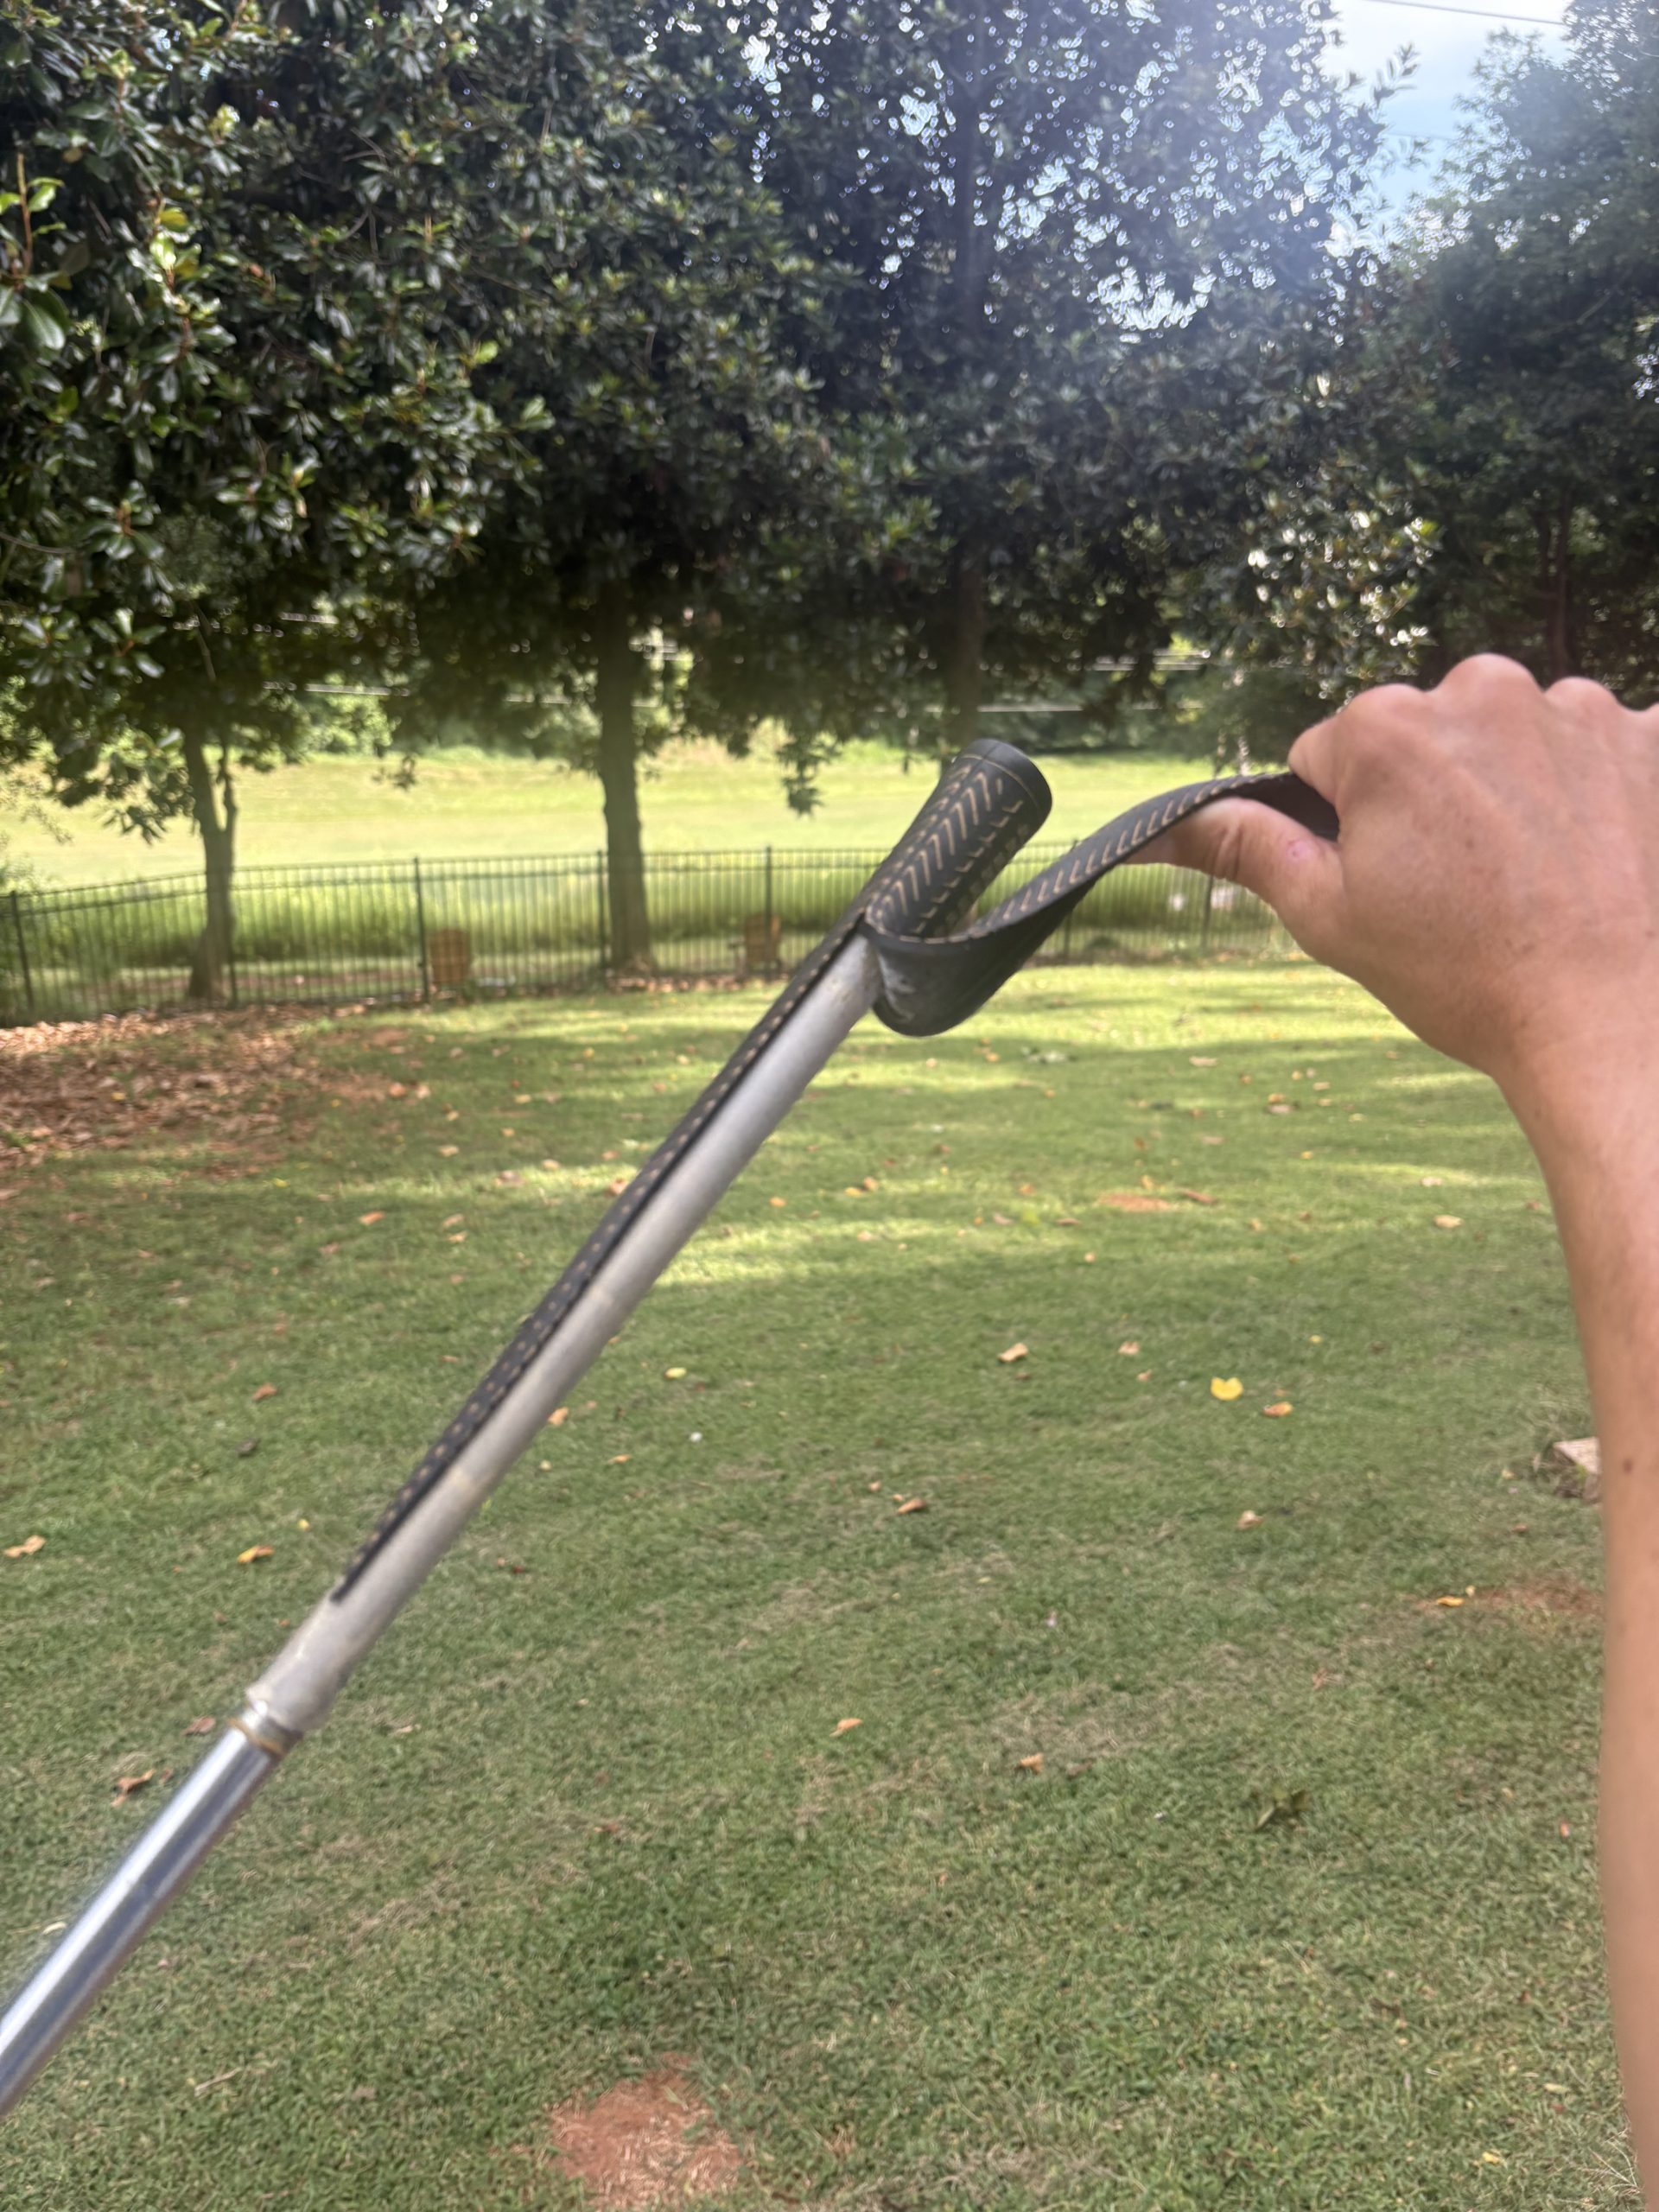
Start by carefully removing the existing grip from the golf club. Use a hook blade, as shown in the photo, to make a lengthwise cut along the grip. Using a hook blade instead of a standard utility knife will prevent damaging the shaft.

Peel Off the Old Grip

nce the grip is sliced open, firmly grasp it and peel it off the shaft, as shown in the photo. Depending on how old or worn the grip is, this may come off easily or require a bit of force. Be sure to remove the grip completely, including any fragments that may stick to the shaft. This will ensure a smooth surface for the new grip to adhere properly.

Remove the Old Grip Tape

With the old grip removed, the next step is to peel off the double-sided tape that was used to secure it. Use a straight-edge scraper or utility tool to carefully lift and strip the tape from the shaft. This part can be a bit tedious, especially if the tape has been on the shaft for a while. Work slowly to avoid scratching the shaft. 

Soak the Shafts

Soak the bare shafts in a bucket of warm, soapy water for about 10–15 minutes. This loosens up any old adhesive and softens stubborn tape residue. After soaking, wipe them down with grip solvent and a clean cloth.

Clean and Prep the Shaft

After removing the old tape, make sure the shaft is completely clean and smooth. Use a rag and grip solvent (like the one pictured in the bowl) to wipe down any leftover adhesive or debris. This helps ensure a solid bond for the new grip. Inspect the shaft to ensure it’s fully stripped and ready. A clean, dry shaft is essential before applying new tape.

Apply New Grip Tape

Peel the backing off one side of the tape and carefully wrap it around the end of the shaft. Start about an inch below where the grip will end and spiral or layer it evenly. Make sure the tape is smooth and secure, with no wrinkles or air bubbles. Leave a bit of excess tape hanging over the butt end of the shaft — this will help cover the opening and create a smooth transition into the grip.

Wrap the Tape Securely

Wrap the tape lengthwise along the shaft, making sure it lays flat and adheres tightly. Once positioned, press the tape down firmly along the shaft and smooth out any air pockets or folds. If you’re using a strip rather than a spiral wrap, center it and then fold the overlapping section over the butt end to seal it.

Tip:

The tape not only secures the grip but also determines the grip size. Adding extra layers can slightly increase thickness to suit your preference.

Finish Wrapping and Seal the Tape

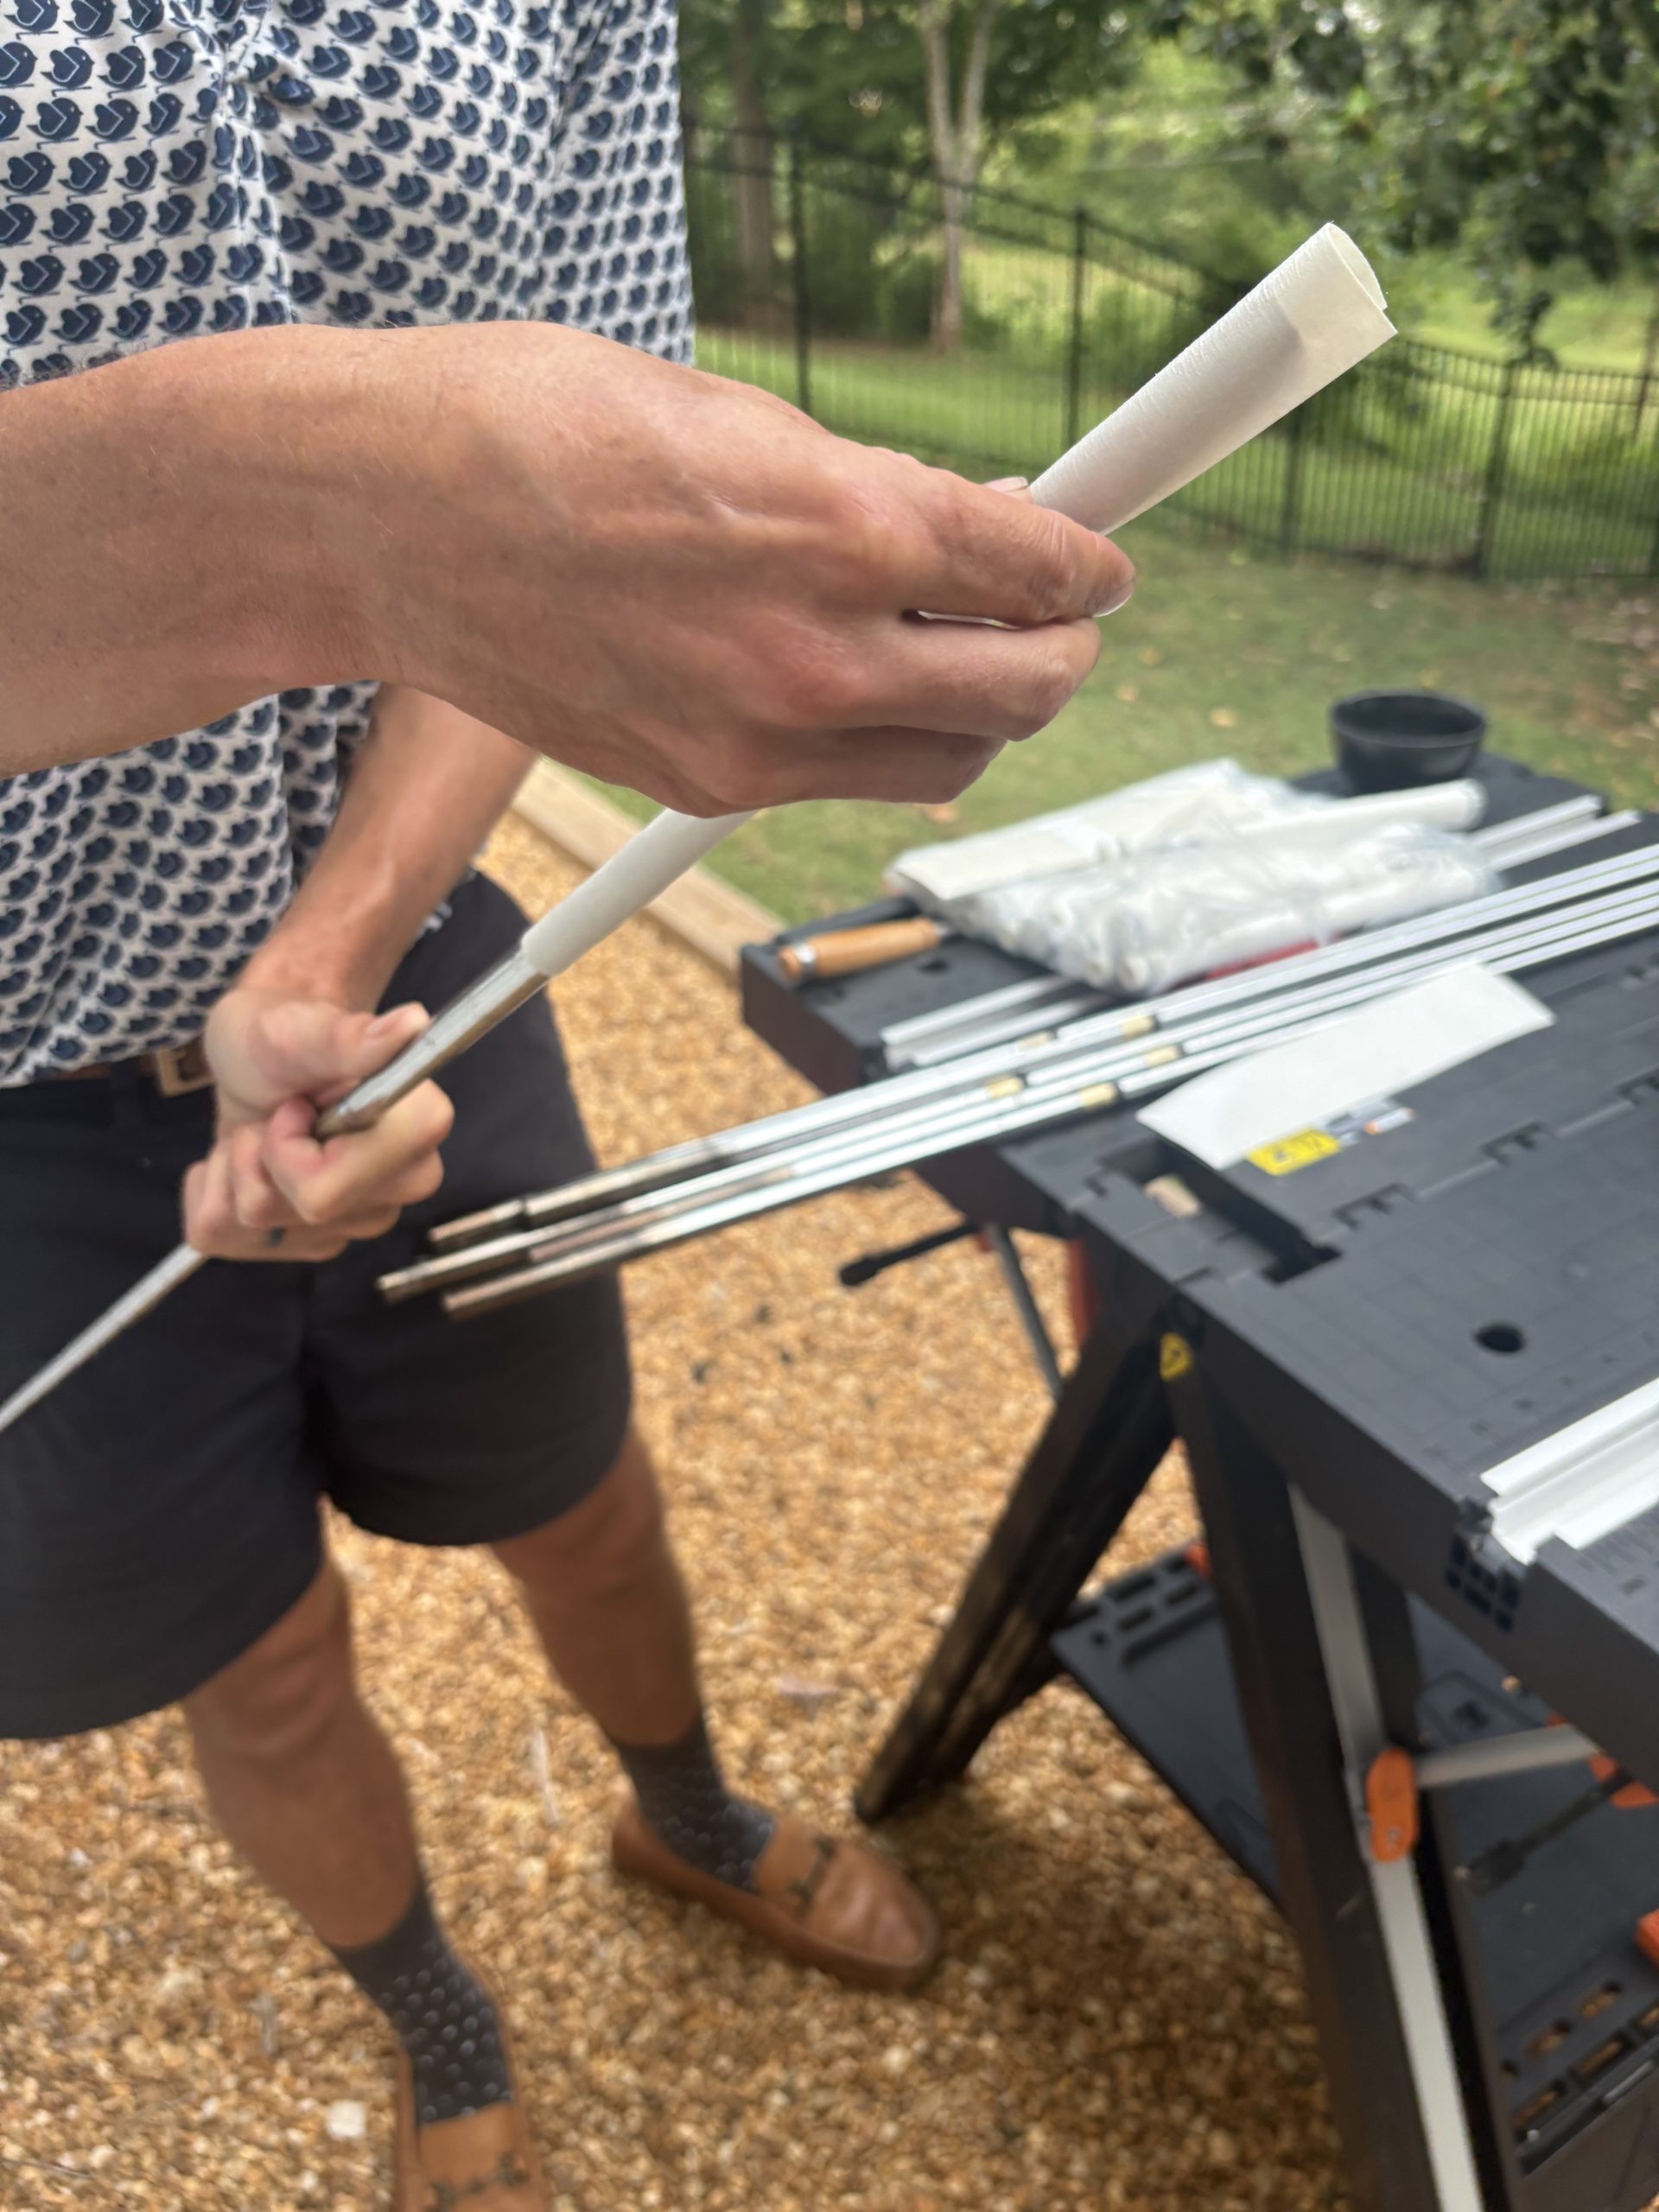
Carefully press the tape onto the shaft, as shown in the first photo, starting near the butt end. Smooth it down gradually to ensure full contact. Next, peel off the top layer of the tape backing, then wrap the excess tape over the end of the shaft.

Tuck & Seal the Tape

After the tape is wrapped around the shaft, fold the excess tape neatly into the open end of the shaft. This creates a smooth, rounded surface that helps the new grip slide on cleanly without snagging. Use your fingers to press the tape firmly into the butt end, forming a small plug. This also helps seal the shaft from moisture over time.

Apply Grip Solvent and Slide on on the New Grip

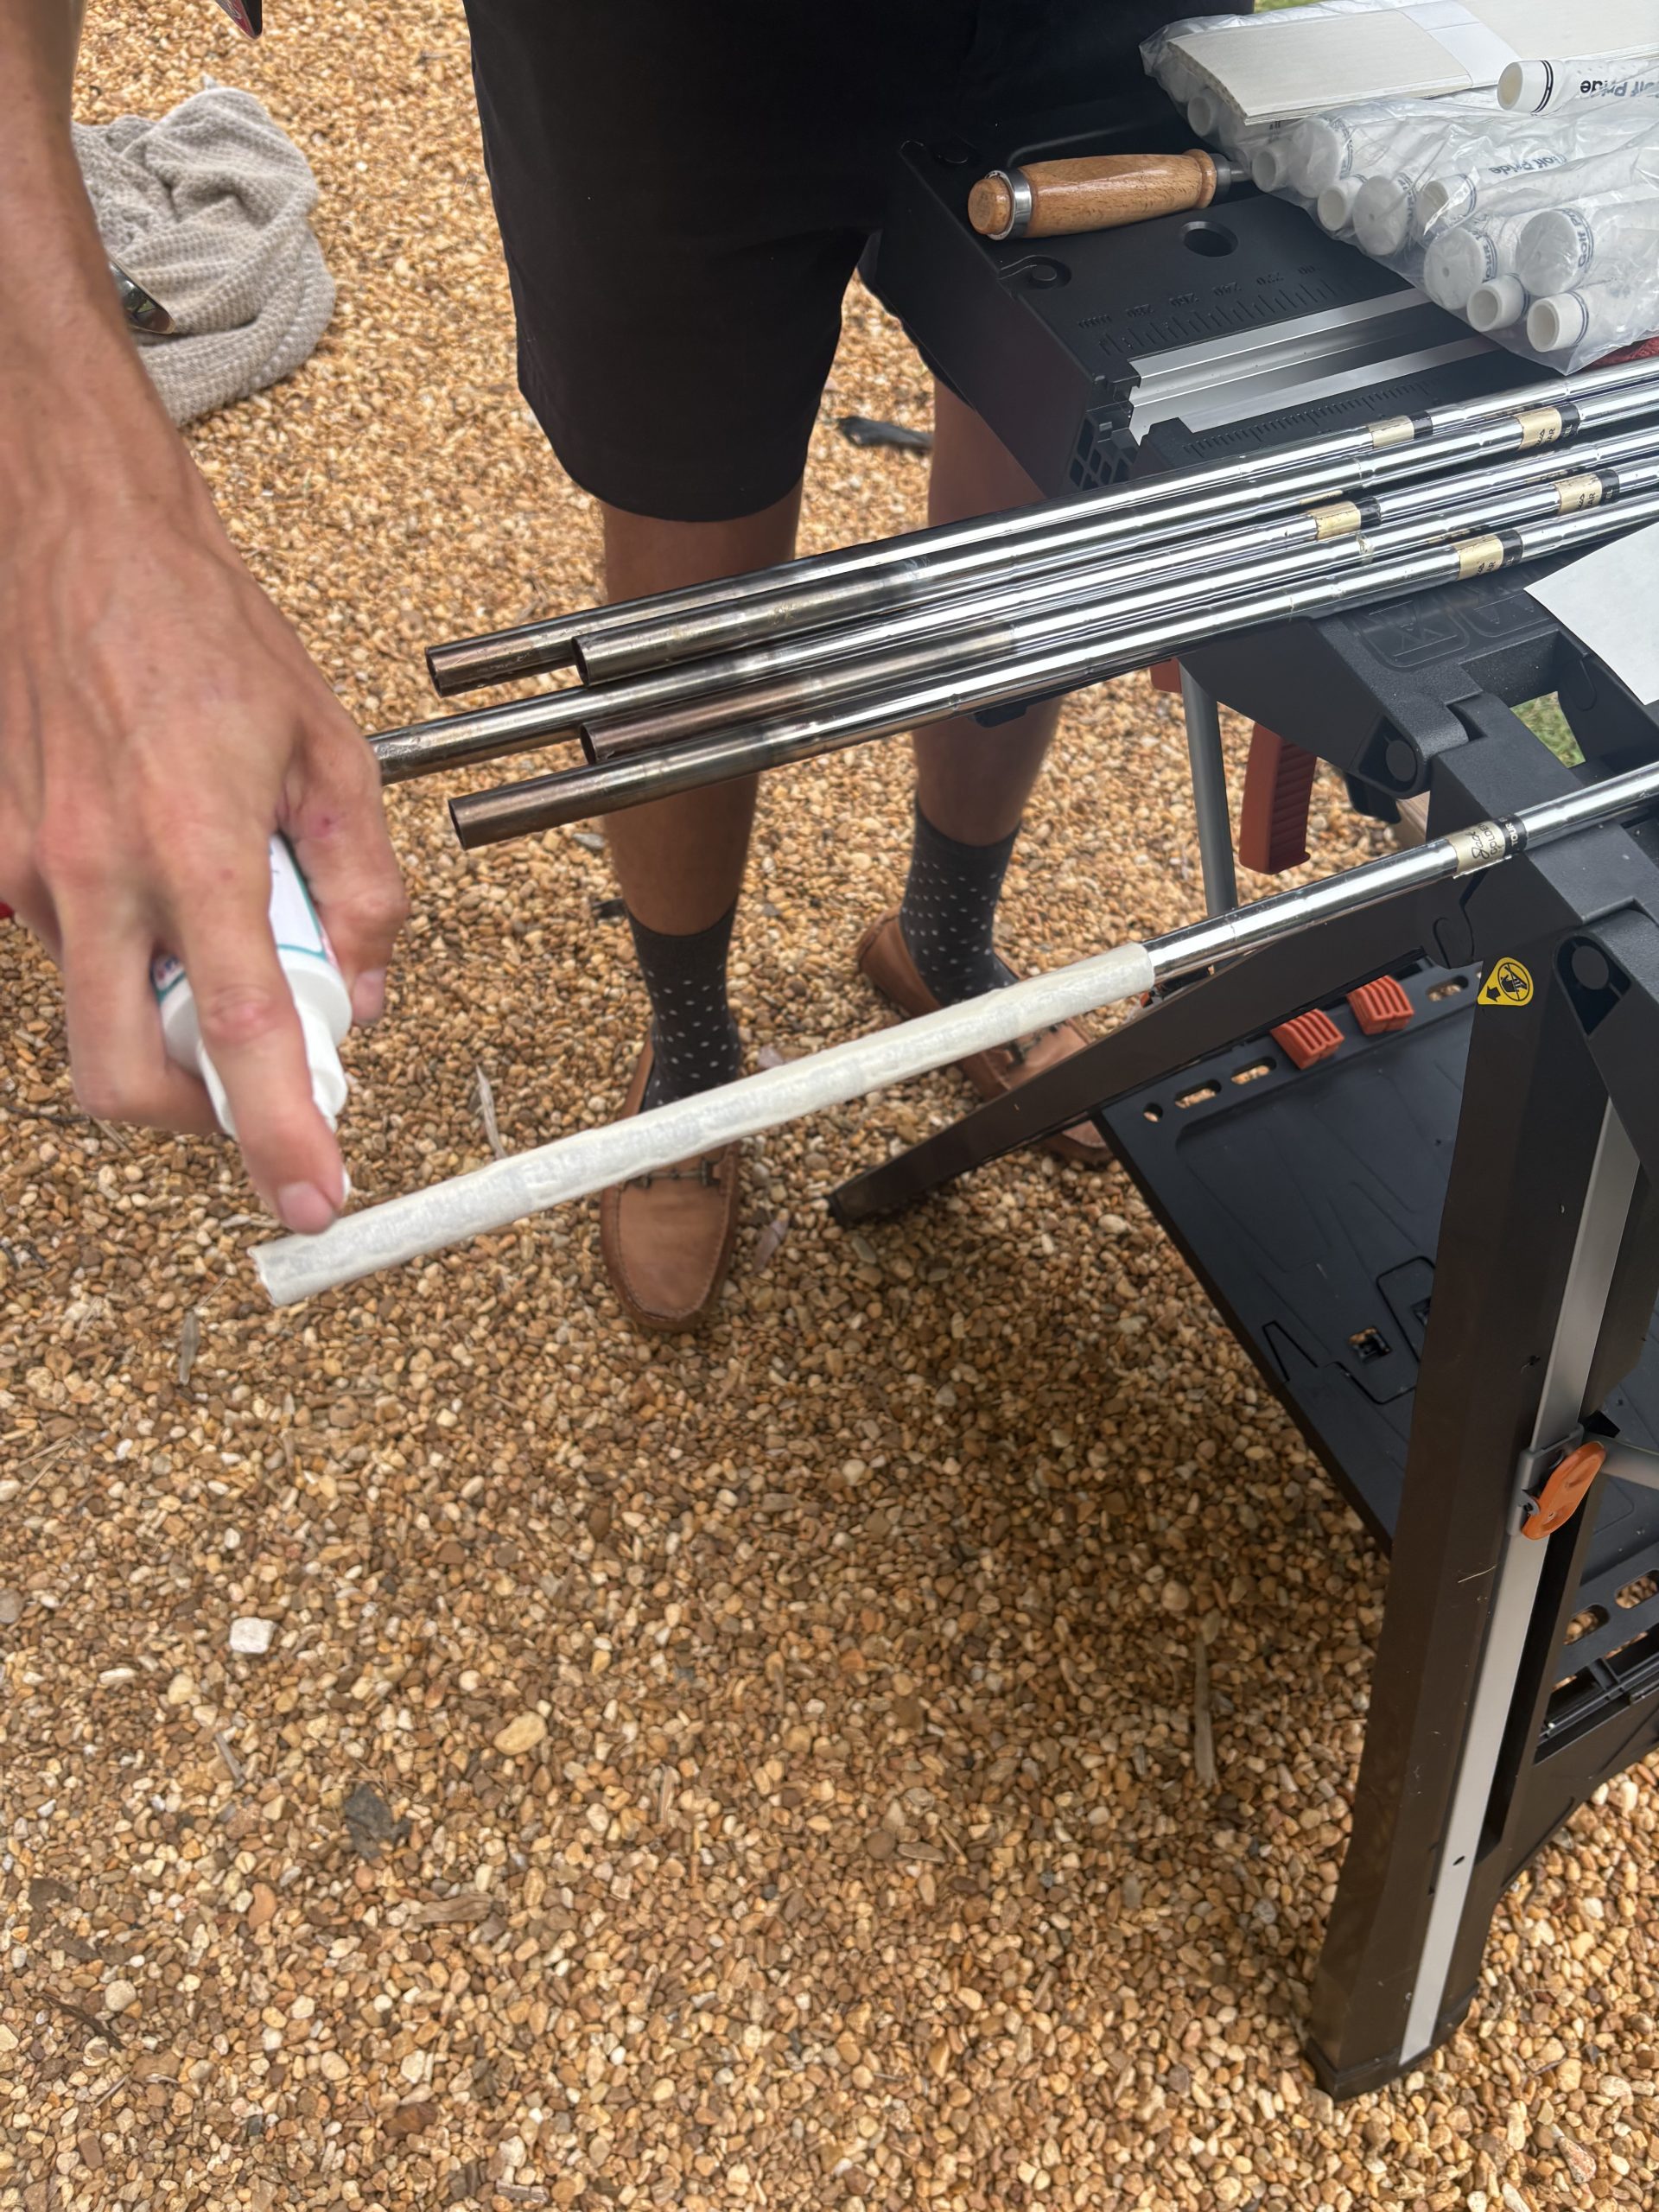
Cover the taped shaft generously with grip solvent. Make sure the entire tape is saturated. You can also pour some solvent inside the grip and shake it to coat the interior (then pour the excess over the tape). Quickly slide the grip onto the shaft, as shown in the images. The solvent acts as a lubricant, allowing the grip to slide into place before it sets. Push the grip on in one smooth motion until it’s fully seated at the end.

Tip:

Line up any logos or alignment marks on the grip before the solvent starts drying — you’ll only have a few seconds to make adjustments.

Let the Grips Dry

Once your new grips are on and aligned, set the clubs aside horizontally and allow them to dry. Most grip solvents require at least 2–4 hours to fully cure, but it’s best to wait overnight before using the clubs to ensure they don’t twist or shift.

Scroll to Top